
What Wattage for My Coil? Start Here Safely

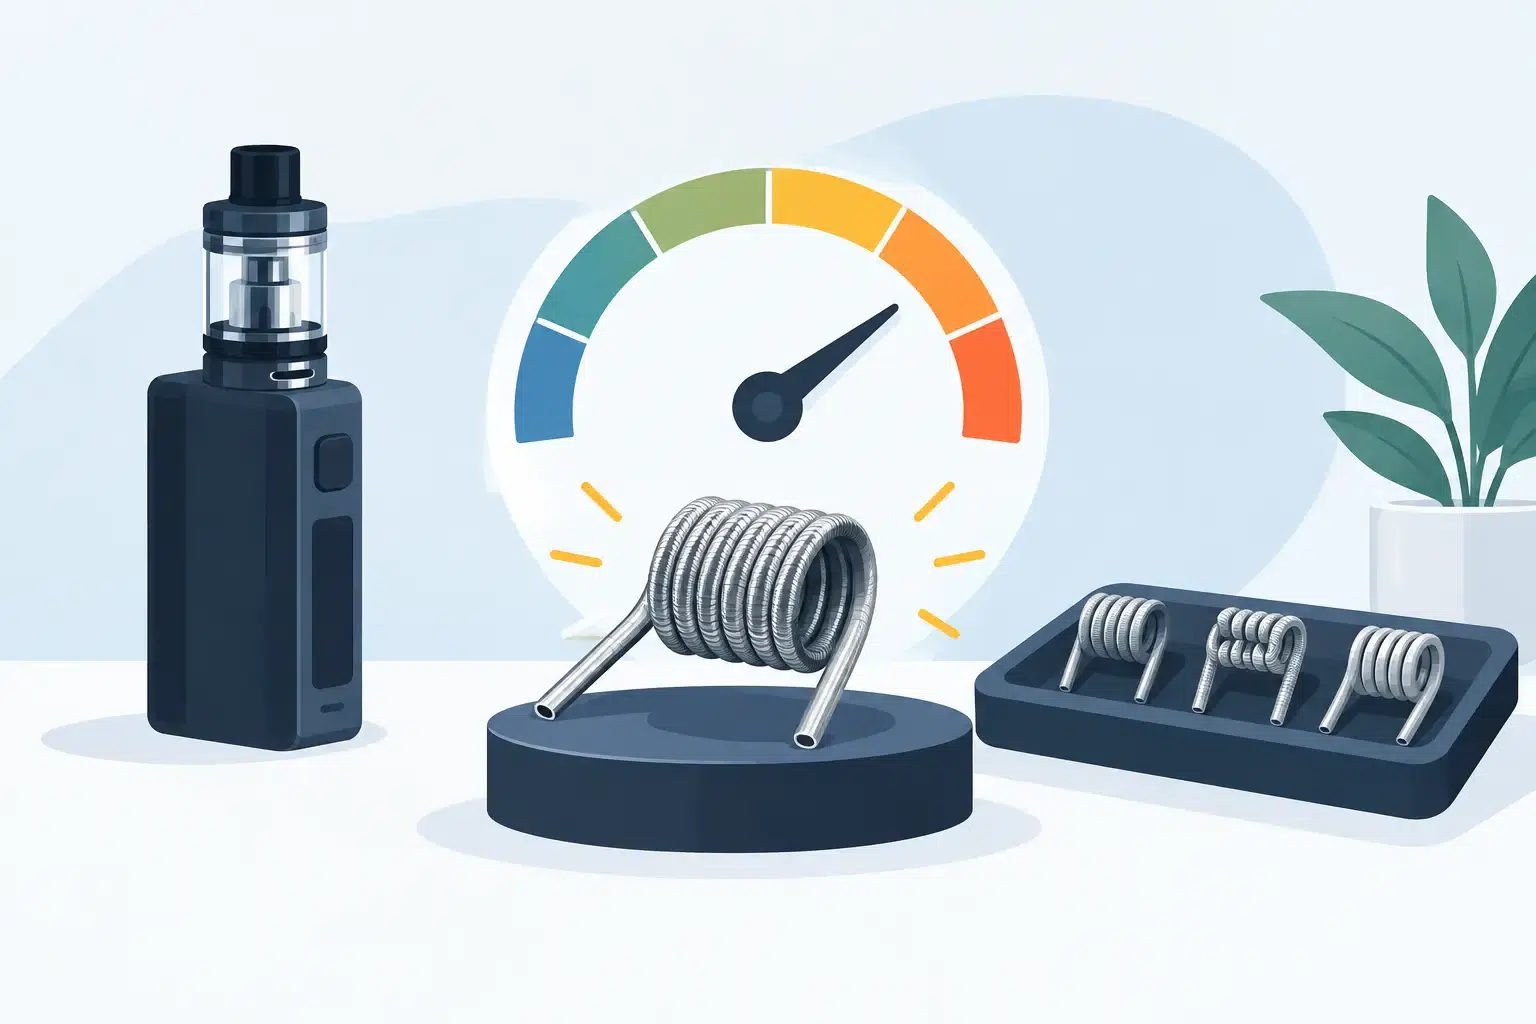
A new coil can turn a familiar device into a guessing game. Set the power too low and the vapor may feel thin; push it too high and the flavor can turn harsh in a single puff. If you are asking, what wattage for my coil, the best answer is not a random number. It is the wattage range printed on that specific coil, followed by a few careful adjustments based on how you vape.
What Wattage for My Coil? Check the Coil First
Every replacement coil should have a recommended wattage range printed on its metal housing, packaging, or both. That range is your primary reference. Coil makers test their coils within that window to balance flavor, vapor production, liquid flow, and coil life.
For example, a coil labeled 20-30W should not be started at 30W immediately. Set your device to around 20W, let the coil settle, and increase power in small steps. A coil labeled 45-55W should begin near 45W for the same reason. Starting low protects a fresh coil while it breaks in.
The stated range matters more than online charts based only on resistance. Two coils can have the same resistance but perform very differently because of their wire material, mesh design, wicking ports, and intended airflow. Always follow the range designed for the exact coil in your tank or pod.
Why Coil Resistance Is Only Part of the Answer
Resistance, measured in ohms, gives a useful clue about the type of vape a coil is built for. Higher-resistance coils usually use less power and suit a tighter, more discreet draw. Lower-resistance coils generally need more power and are designed for a warmer, airier vape with greater vapor output.
As a broad starting point, coils around 0.8 ohms to 1.2 ohms often work in lower wattage ranges, commonly between 10W and 20W. Coils around 0.4 ohms to 0.6 ohms often operate at moderate wattages, while lower-resistance coils can require considerably more power. These are general patterns, not settings to copy blindly.
A 0.6-ohm pod coil from one brand may be intended for 18-25W, while another may be designed for a completely different range. The label wins every time.
Watts, volts, and why your device may look different
Most modern regulated vape devices let you select wattage. This is the easiest setting because the device automatically adjusts voltage to deliver the power you choose. If your device displays volts instead, use the recommended wattage range on the coil as your guide and consult the device instructions before changing settings.
Temperature control is a separate mode and only works properly with compatible wire types. If you are unsure whether your coil supports it, use regular wattage mode rather than experimenting. Consistent, moderate power is better for a coil than settings chosen by guesswork.
How to Find Your Best Wattage in Small Steps
Once you have found the manufacturer range, there is a simple process for dialing in the setting that feels right. Begin at the lowest recommended wattage. Take two or three gentle puffs, then raise the power by 1W or 2W at a time.
Pause briefly between adjustments. You are looking for clean flavor, satisfying vapor, and a comfortable temperature. Stop increasing once the flavor is full and the vapor feels right for you. The highest number in the range is not automatically the best setting. It is simply the upper limit the coil is built to handle under suitable conditions.
Many vapers get the best balance in the lower or middle part of the recommended range. Staying there can reduce liquid consumption, keep the device cooler, and often extend coil life. Higher wattage may produce denser vapor, but it also uses more e-liquid, drains the battery faster, and puts more demand on the wick.
Airflow changes the result as well. More open airflow can support a slightly warmer setting because it cools the coil during each puff. A tighter airflow setting may feel too hot at the same wattage. If the vape feels warm but the flavor is good, try opening the airflow a little before turning the power down.
Prime a New Coil Before Raising the Power
Even the correct wattage cannot rescue a dry wick. A fresh coil needs time for e-liquid to soak fully into the cotton before it is heated.
Fill the pod or tank after installing the coil, then wait at least five to ten minutes before vaping. If the coil design allows it, placing a few small drops of e-liquid directly onto the visible cotton can help, but do not flood the center airflow tube. After the waiting period, begin at the bottom of the recommended wattage range.
This extra patience matters most with thicker e-liquids, larger coils, and high-power setups. Cotton that has not absorbed enough liquid can scorch quickly. Once scorched, the taste usually remains even after the tank is refilled, and the coil will need replacing.
Signs Your Wattage Needs Adjusting
Your device gives clear feedback when the setting is not quite right. A weak vape does not always mean the coil is defective, and a harsh vape does not always mean the e-liquid is the problem.
- Little flavor or thin vapor: The wattage may be too low, the battery may be low, or the coil may be reaching the end of its life.
- Hot vapor or an unpleasant throat feel: Reduce the wattage by a few watts, especially if airflow is restricted.
- Burnt taste: Stop using the device right away. Check that the tank has liquid, allow the wick to saturate, and lower the wattage when fitting the next coil.
- Gurgling or leaking: The coil may be flooded, the wattage may be too low to vaporize liquid efficiently, or the coil may not be fitted securely.
If you lower the power and the burnt taste remains, do not keep firing the coil. Replace it. Continuing to use a burnt coil will not improve the flavor and can make the problem harder to diagnose.
Match Wattage to Your E-Liquid and Vaping Style
E-liquid thickness affects how quickly it reaches the cotton. Thicker, high-VG liquids are commonly used with coils that have larger wicking ports and operate at higher wattages. Thinner liquids generally suit lower-power pods and tighter-draw coils. Using a liquid that is not suited to your coil can cause dry hits, leaking, or inconsistent flavor even when the wattage is correct.
Your preferred puff also matters. If you take long, frequent draws, stay toward the lower or middle of the coil’s range to give the wick time to keep up. If you take shorter puffs with open airflow, you may prefer a slightly higher setting. Neither approach is universally better. The goal is a setting your coil can supply consistently.
Keep the Setup Within Its Limits
Use a compatible coil, a device in good condition, and the correct wattage mode. Keep the tank topped up rather than letting the liquid fall below the wick openings. Charge your device with suitable equipment, and do not use damaged batteries or a device that becomes unusually hot.
When a coil is replaced, reset your habits too: prime it, start low, and work upward gradually. If the printed wattage range is missing or the coil type is unclear, it is safer to identify the coil before using it than to guess.
A dependable vape should feel simple, not stressful. Start at the low end, listen to what the flavor and temperature tell you, and make one small adjustment at a time. If you need help identifying a coil or choosing a compatible replacement in Bahrain, the VapeShop.bh team can help you get the setting right without the trial-and-error.
Frequently Asked Questions
Use the recommended wattage range printed on the specific coil housing or packaging. Start at the lowest number, allow the new coil to settle, then increase power in small steps while staying within that range.
Yes. Starting at the bottom of the printed range helps protect a fresh coil while it settles. For example, a coil marked 20–30W should begin around 20W rather than immediately at 30W.
Begin at approximately 20W, which is the lower end of the coil’s stated range. Increase the setting gradually only if the vapor and flavor feel too light, and do not exceed the printed range.
Resistance provides a useful clue, but it does not determine the exact wattage by itself. Coils with the same resistance can perform differently because of their wire material, mesh design, wicking ports, and intended airflow.
If the vapor feels thin, check the coil’s printed wattage range first. Increase power in small steps while remaining inside that range, since the recommended window is designed to balance flavor, vapor production, liquid flow, and coil life.
A harsh taste can indicate that the power setting is too high for the coil. Reduce the wattage and return to the lower part of the printed range, then make only small adjustments if needed.
The coil’s metal housing or packaging is the primary source for its recommended wattage range. For product support from VapeShop.