

How to Clean Vape Tank Safely Without Damage

A tank that suddenly makes every e-liquid taste dull, sweet, or burnt usually does not need a new device. It needs a proper clean and, in many cases, a fresh coil. Knowing how to clean vape tank safely helps protect the small seals, threads, and glass that keep your setup working properly. It also prevents leftover flavor from affecting the next refill.
Cleaning takes only a few minutes of hands-on work, but drying time matters. Rushing that part can lead to gurgling, leaking, or a weak vape. The method below works for most refillable tanks and pod-tank systems with removable parts.
When Your Vape Tank Needs Cleaning
A quick rinse is useful whenever you switch between strongly different flavors. Cleaning is especially worthwhile after a very sweet e-liquid, after a tank has been sitting unused, or when you notice residue around the mouthpiece and airflow area.
Do not assume cleaning will fix every flavor problem. If the coil is dark, tastes burnt, produces less vapor than usual, or has been used for a while, replacement is usually the better answer. A coil contains absorbent material that holds old e-liquid deep inside it. Water can rinse the tank, but it cannot reliably restore a worn coil.
A good routine is to rinse the tank at each coil change and give it a more careful clean when changing flavors. How often that means depends on how much you vape and the type of e-liquid you use. Clearer liquids generally leave less residue than very sweet, heavily flavored options.
What You Need Before You Start
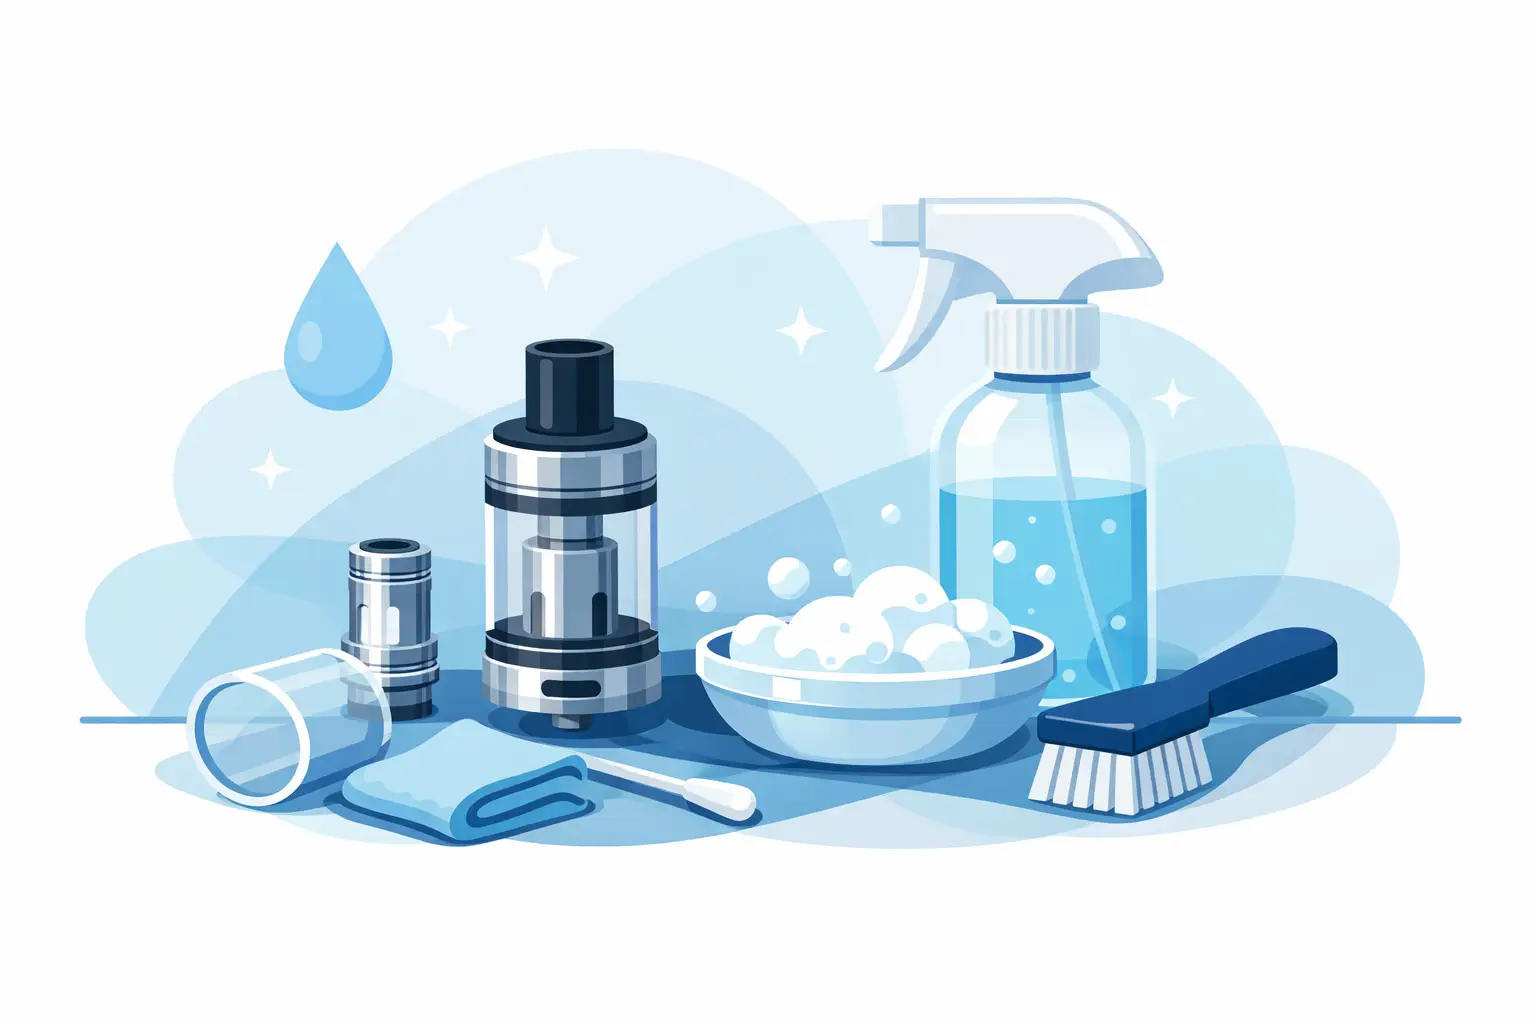
Keep the process simple. You do not need harsh chemicals or specialty cleaning products for normal maintenance. Gather a few clean items before taking the tank apart:
- A bowl of warm water, not boiling water
- Paper towels or a clean, lint-free cloth
- Cotton swabs for threads and tight areas
- A dry, clean space where small parts cannot roll away
If your tank has a removable glass section, work over a towel. It gives you a softer surface and makes O-rings, screws, and other small pieces easier to spot.
How to Clean a Vape Tank Safely Step by Step
Start by turning the device off if it has a power button. Remove the tank from the battery or mod before opening it. Never rinse or soak the battery section, charging port, or any electronic part of the device.
Empty the Remaining E-Liquid
Open the tank according to its design and carefully pour out any remaining e-liquid. If the liquid looks dark, cloudy, or contains visible debris, do not pour it back into the bottle. Wipe away residue from the fill port and the tank base with a paper towel.
This is also the right time to check for leaks. A little moisture around the base can be normal after filling, but pooled liquid may point to a loose coil, damaged O-ring, or cracked glass. Cleaning the tank without addressing the cause will only give you the same problem again.
Take Apart Only the Removable Pieces
Separate the mouthpiece, glass, top cap, base, and coil if your model allows it. Not every tank comes apart in exactly the same way, so avoid forcing a piece that feels stuck. Cross-threaded parts and damaged seals are far more inconvenient than taking an extra minute to check the device instructions.
Set the coil aside. If you are replacing it, discard the old one and install the new coil only after the tank is completely dry. If the coil is still relatively fresh and you are only changing to a similar flavor, keep it upright in a clean, dry spot. Do not soak a standard replaceable coil in water and expect it to perform like new.
Rinse the Tank Parts With Warm Water
Hold the empty glass, mouthpiece, top cap, and metal tank sections under warm running water. Warm water loosens normal e-liquid residue without putting unnecessary stress on the glass or seals. Very hot water can warp certain plastic components or weaken O-rings over time, so keep the temperature comfortable to the touch.
For stubborn residue, let the removable non-electronic parts sit in a bowl of warm water for 10 to 15 minutes. Swirl the pieces gently, then rinse them again. Avoid household cleaners, scented soap, bleach, and abrasive powders. They can leave residue behind, affect flavor, or damage the materials in your tank.
If there is residue in the threads or around the airflow ring, use a cotton swab lightly dampened with water. Wipe rather than scrub. The goal is to remove buildup without pushing moisture into areas that are difficult to dry.
Dry Every Part Completely
This is the step that determines whether your freshly cleaned tank works well on the first refill. Shake off excess water, then place each piece on a paper towel or lint-free cloth. Gently pat the outside dry and leave the parts in a clean area to air-dry.
Give the tank at least several hours to dry fully. Overnight is the safest option if water reached narrow channels, such as airflow slots or the chimney. Do not use a hair dryer on high heat, place parts in direct intense heat, or reassemble the tank while droplets are still visible.
Water left inside the tank can thin the first few draws of e-liquid and cause popping or gurgling. A small amount is not usually dangerous to the tank itself, but it can make the device perform poorly and create unnecessary mess.
Reassemble, Refill, and Check for Leaks
Once every part is dry, inspect the O-rings before putting the tank back together. These small rubber seals should sit flat in their grooves and should not be torn, stretched, or flattened. A damaged O-ring is a common reason for leaking, especially after cleaning.
Reassemble the tank without overtightening. Parts should be secure, but forcing them tight can damage threads and make the next clean more difficult. Install a new coil if needed, fill the tank, and close the fill port carefully.
When using a new coil, let the filled tank sit for five to ten minutes before vaping. This gives the absorbent material time to saturate. Starting too soon can permanently damage a new coil and create a burnt taste that cleaning cannot remove.
Before attaching the tank to your device, wipe the bottom connection with a dry cloth. Then take a few gentle draws at a lower setting if your device allows adjustment. Listen for unusual gurgling and check the base for moisture after the first few puffs.
Cleaning Mistakes That Can Damage a Tank
The most common mistake is washing the entire device rather than only the removable tank components. Electronics and water do not mix, even if the exterior looks sealed. Keep the battery section dry and clean its connection point only with a dry cotton swab or cloth.
Another issue is trying to extend the life of a spent coil through repeated washing. A coil may look clean after rinsing but still hold old flavor, reduced performance, or damaged absorbent material. Replacing it is more reliable and usually gives a noticeably cleaner taste.
Finally, do not use sharp tools to scrape inside the tank, airflow slots, or seal grooves. A tiny scratch on the glass or a nicked O-ring can become a leak. Gentle cleaning is more effective than aggressive cleaning.
If the Tank Still Tastes Wrong After Cleaning
If the tank is dry, reassembled correctly, and still tastes off, start with the coil. Replace it, fill with fresh e-liquid, and allow enough time for saturation. If the problem continues, inspect the glass and seals for damage and make sure the coil is threaded in straight and snug.
For adult vapers in Bahrain who need help identifying the right replacement coil, tank glass, or compatible accessory, VapeShop.bh can help make the next step straightforward. A clean tank is simple maintenance, but the right coil and properly fitted seals are what keep it tasting the way it should.
Frequently Asked Questions
Take the tank apart first, then rinse the removable parts with warm water and let them dry fully before reassembling. Avoid rushing the drying step, because trapped water can cause leaking or a weak vape. If a coil is burnt or worn, cleaning the tank will not fix that part.
A quick rinse is useful whenever you switch between very different flavors. A more careful clean also makes sense after a very sweet e-liquid or when residue starts building up around the mouthpiece and airflow area. If the coil is already dark or tastes burnt, replacement is usually the better fix.
Cleaning the tank only removes residue from the tank parts, not from a worn coil. If the coil is dark, tastes burnt, or produces less vapor than usual, it usually needs replacing. That is why a clean tank can still give a bad taste if the coil has reached the end of its use.
Yes, a quick rinse is a good idea when moving from one strong flavor to another. It helps stop leftover taste from affecting the next refill. For better results, let every part dry completely before putting the tank back together.
The removable tank parts, mouthpiece, and airflow area are the main spots to rinse and inspect. Small seals, threads, and glass should be handled gently so they are not damaged during cleaning. The coil is different, because water can rinse the tank but cannot restore a worn coil.
Yes, drying matters just as much as washing. If the parts go back together while wet, the tank can gurgle, leak, or vape weakly. Letting the pieces dry fully helps the setup work properly after cleaning.
Yes, leftover residue can make the next refill taste dull, sweet, or even burnt. A proper clean helps reduce flavor carryover between refills. If the coil is already tired, though, the taste problem may continue until it is replaced.